
Do you want to dye your hair at home? Here the five rules for perfect results!
I’m sure that all of you have ever dye your hair at home (or help a friend to) at least once in your life. To experience, for lack of time, either by the big savings – many women decide to dye their hair at home, and not just to cover a simple regrowth.
I already know that this post may raise discussions and, most likely (?) going to the hairdresser the result could be better (I use the conditional, because I can say that not always haistylists made me happy and satisfied), but I am sure that we can do a good job even at home following a few tips 🙂
Before you find out what are the 5 golden rules to dye your hair at home I want to make an introduction that concerns a very important aspect of hair dye: allergic reactions. If you have never applied the product on your hair or on your skin make sure to do a skin test by applying a small amount of mixture on a hidden corner of your skin; please spend a few hours and check the situation. Many girls underestimate this danger but remember that in hair dyes are so many different chemical elements then a large number of potential allergies as well. Fortunately, the technology helps us because now on the market we can find formulas free from major allergens such as nickel and lead, but carry out a test on your skin is always the best choice!
1. FIND THE RIGHT COLOR
If you just want to cover gray hair choose a dye similar to your natural color but 1 lighter tone: generally the color obtained with a do-it-yourself dye is always darker than what we see on the photo of the package, in this way you can avoid that the final effect is too dark. If you want to change by choosing something other than your natural color keep in mind that you will lighten up to 4 tones (different matter if your hair is already colored, in this case I recommend you to opt for a darker shade). If you are brunette and you like red proceed without delay, if you want to become a platinum blonde I recommend you to ask to a professional hairstylist because you could not obtain a homogeneous bleaching and risk to damage your hair … better to avoid, isn’t it? 🙂
2. BE CAREFUL TO SENSITIVE HAIR
Dye sensitive hair is possible, but a good result depends on the actual degree of damage. Postpone if you have had recently a hair straightening or permanent. To not make mistakes, you can choose a tone on tone color: it’s a product that doesn’t contain ammonia or oxidants and is able to emphasize the background color with new shades, creating a film around the hair blocking the pigments. The cosmetic effect of this treatment is high and hair immediately appears more healthy and full-bodied, an interesting aspect for dull and opaque hair (it isn’t a permanent color, the effect will fade after about 10 washes). Depending on the degree of hair damage I recommend you to decrease the exposure time suggested on the package.
3. HOW TO APPLY DYE CORRECTLY
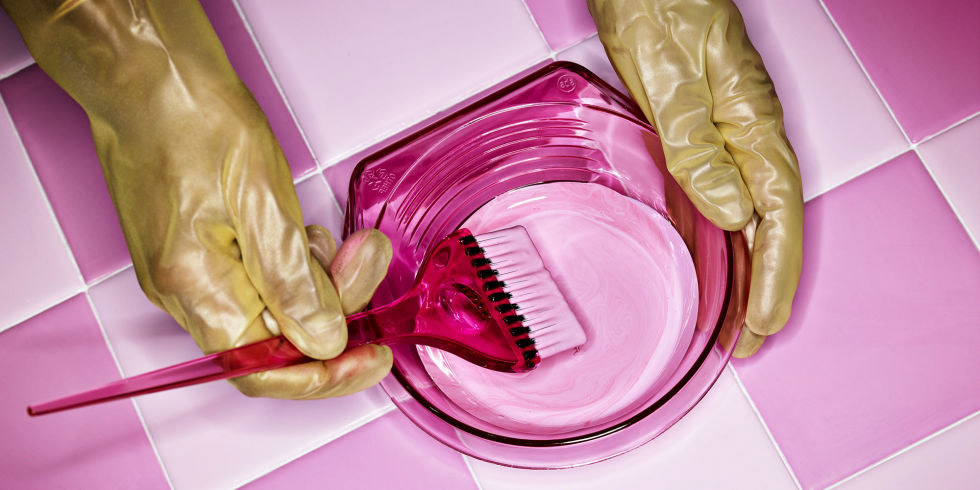
I believe that there’s nothing worse than not have uniform color so if you decided to dye your hair at home you have to be careful and methodical. Don’t use the applicator you find in the package, buy a bowl and a professional brush is better. You can buy them both for few euros in household shops or perfumery, where you can find even the plastic capes to protect clothing from hair dye.
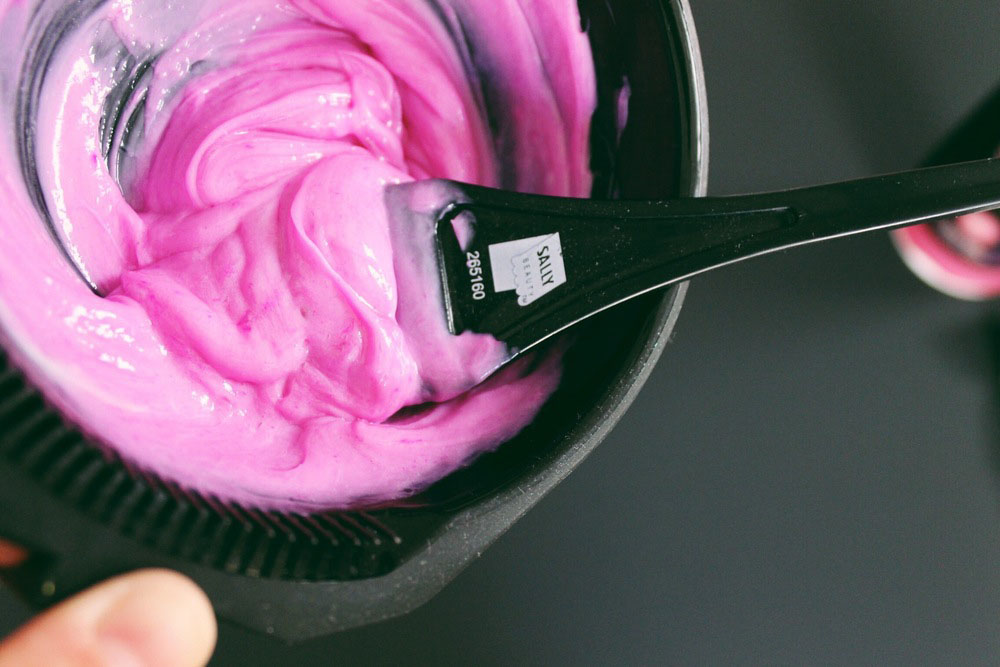
- After wearing protective gloves pour all the content of the tube into the bowl and add the liquid component; then carefully mix products using the brush until the mixture will be homogeneous.
- Comb the hair thoroughly and divide hair in 4 sections, two front and two back, it will be easier to apply the tint by taking a section at a time, go on separating hair horizontally and don’t forget any area!
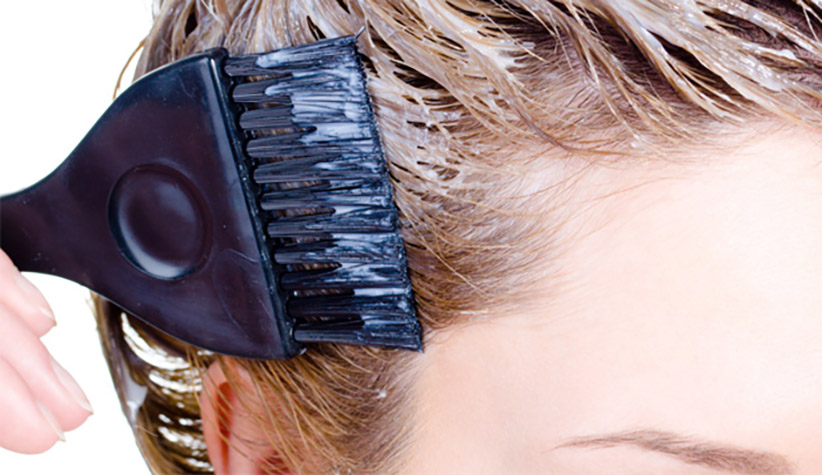
- Take the product with the brush and – taking up the lock with the other hand – started to apply the dye on the roots, making sure not to forget the hair at the base of the neck; repeat on the other side and go on with the rest. If you just dye the regrowth have finished and you can move on to the next point; if you need to color the entire length of your hair take more product and put it on the hair shaft; massage with your hands to let dye penetrates the hair strand better.
- Separated horizontally again, repeat the operation, and so on throughout the back of the head. Pass to the front area, release remaining sections and make a a central line using the comb: start here to apply the dye, then go on to the right up to the ear, continuing to divide the hair horizontally. Repeat st the other side as well and then back again to the middle line. Taken a bit ‘of the product and apply it all around the face (along the so called “crown”) with small movements from the face to the hair. In this way you will be safe to dye all “exposed” roots, but also baby hair (shorter and often forgotten!)
- Creamy formulas don’t need it but I prefer to “pack” the hair with plastic wrap. In this way you will be sure that the paint doesn’t drip, and the heat generated by the head will remain trapped and become a natural catalyst to the dye.
- The exposure time of do-it-yourself hair dye is typically about 30 minutes, after the first 20 wore the gloves again and start to gently massage the skin, adding a few drops of water if necessary. After another 5 minutes start to massage the stems and spikes while you comb hair
- Reached the 30 minutes start to rinse your hair until the water will be clean and go on with the usual shampoo; if you use a professional mask you can rely to that, otherwise apply nourishing treatment included in the package. Keep on about 5 minutes (but if you have time, even more!) and then rinse.
4. HOW CHOOSE EXPOSURE TIME?
Follow the exposure time indicated on the package is always a good thing, but is possible only if you are fast during application: the more the application time increases, the more hair will have different exposure times. Do-it-yourselfers dyes are calibrated then the color homogeneity isn’t affected by few minutes delay, you can safely start to count the time from when you finish the front area of the head.
If you use dyes and professional oxygens – in order to not get different colors – I suggest you to rinse the hair dyed first few minutes earlier than the other.
5. HOW TO REMOVE STAINS
Another sore point of dye your hair at home are the spots on the skin, especially in the case of brown and chestnut shades. To eliminate them, there are many legends, some valid, others absurd in my opinion! Although the idea to put ashes on head can sound bad, I can attest that it’s an effective method for removing dye marks, as well as biphasic make-up remover; both should be applied to a cotton pad and then rubbed gently on the skin. Try with milk and toothpaste isn’t useful: marks remain in place and the smell of mint on the hair is not really good…
Keep in mind that (always in the household stores and suppliers for hairdressers) on the market you can find a special solvent created to remove dye marks from the skin; you can also work with prevention, applying hair wax on areas adjacent to the hair to create a shield from the dye.