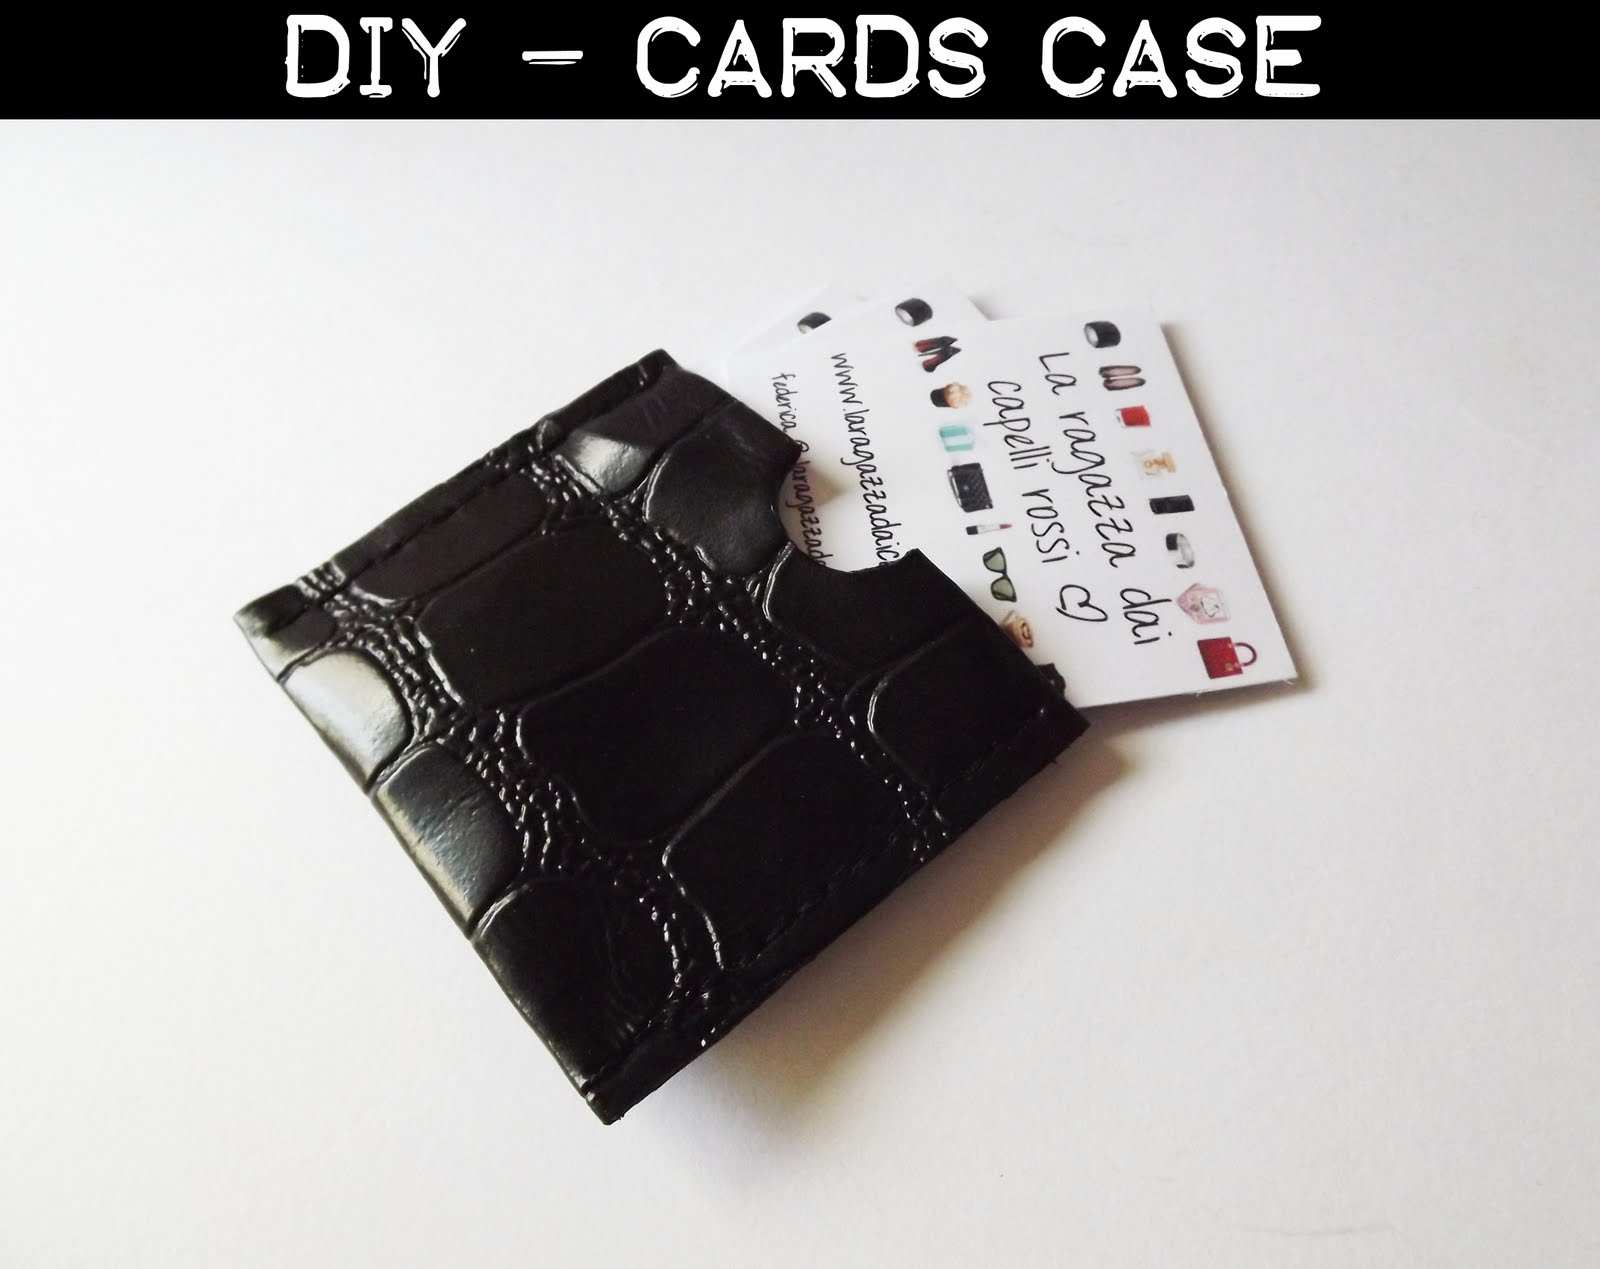
L’idea di questo nuovo DIY post è nata dall’esigenza di un astuccio che contenesse i biglietti di visita del blog: essendo quadrati, è risultato davvero impossibile trovarne uno con le giuste misure in commercio e quindi… perchè non realizzarlo da sola? 🙂
The idea of this new post DIY cames from the need to have a case for the blog’s business card: they are square and I haven’t found one with the right measures on the market and … why not make it by myself? 🙂
Con lo stesso procedimento che vi mostro potete ovviemente realizzare astucci con varie finalità, come un porta-cellulare o un porta-ipod, spazio alla fantasia!
In the same way that I show you here, obviously you can make cases with different purposes, such as a phone-case or iPod case, let space to your fantasy!
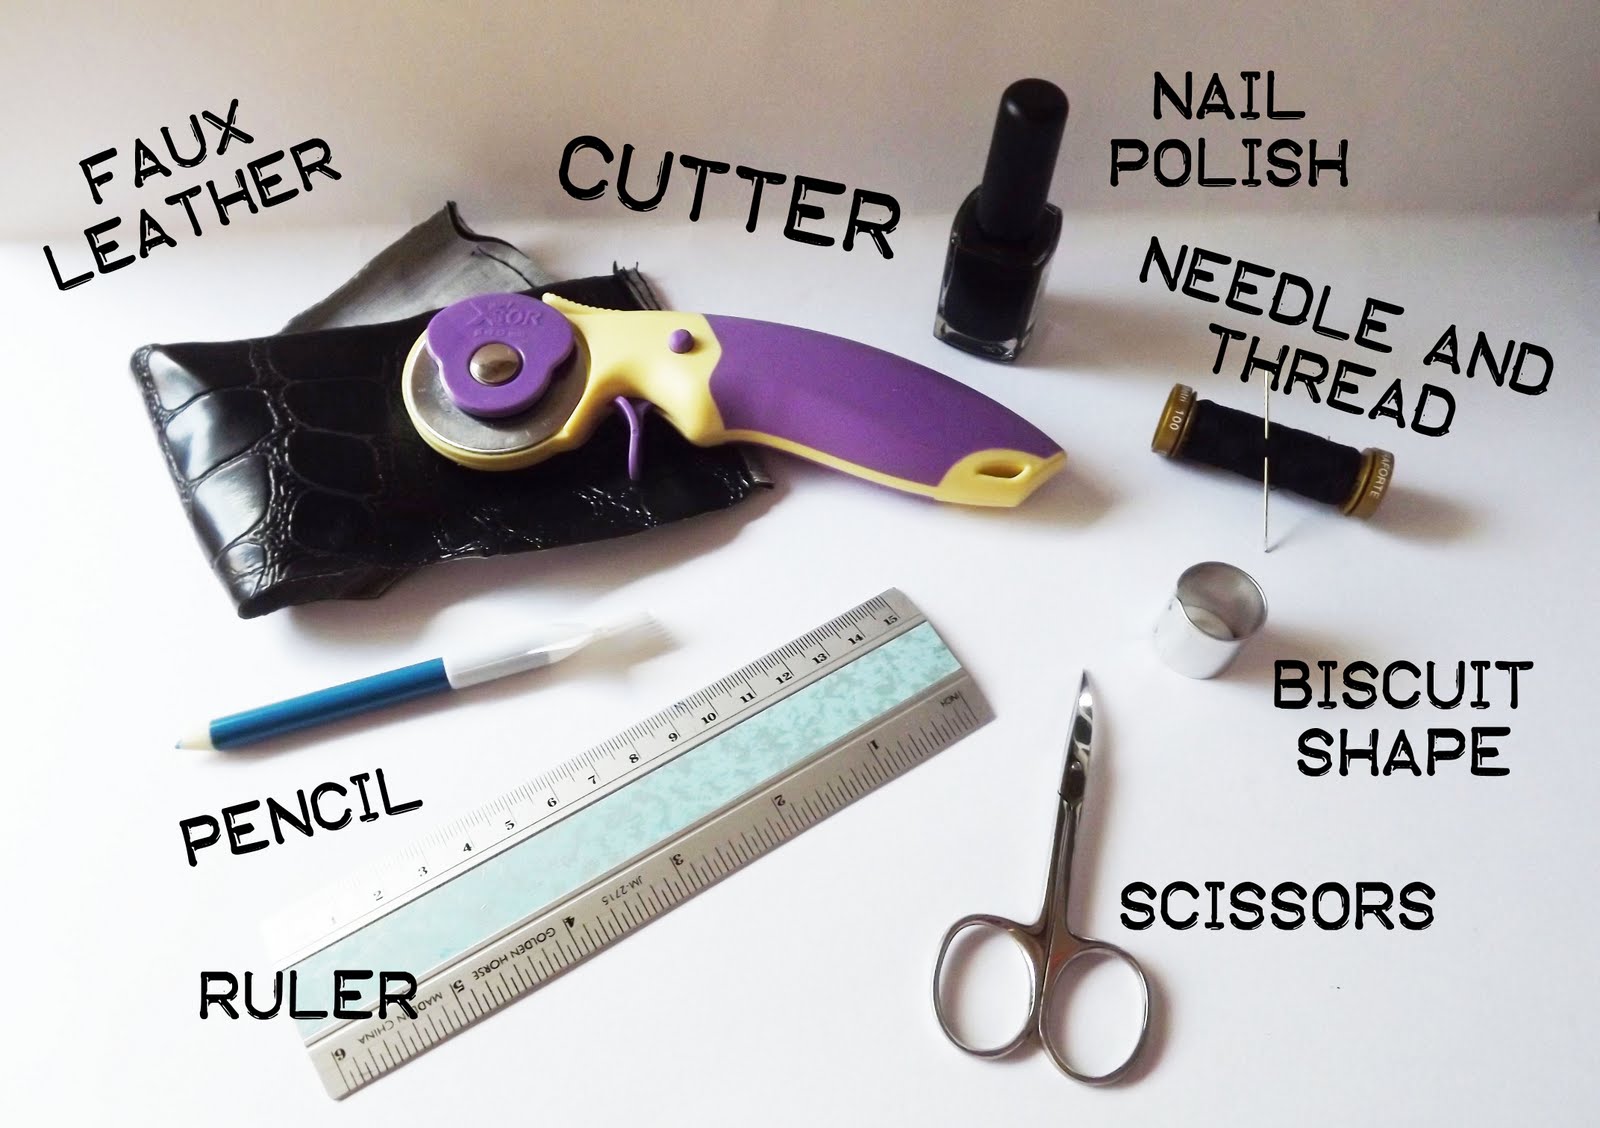
NECESSARY
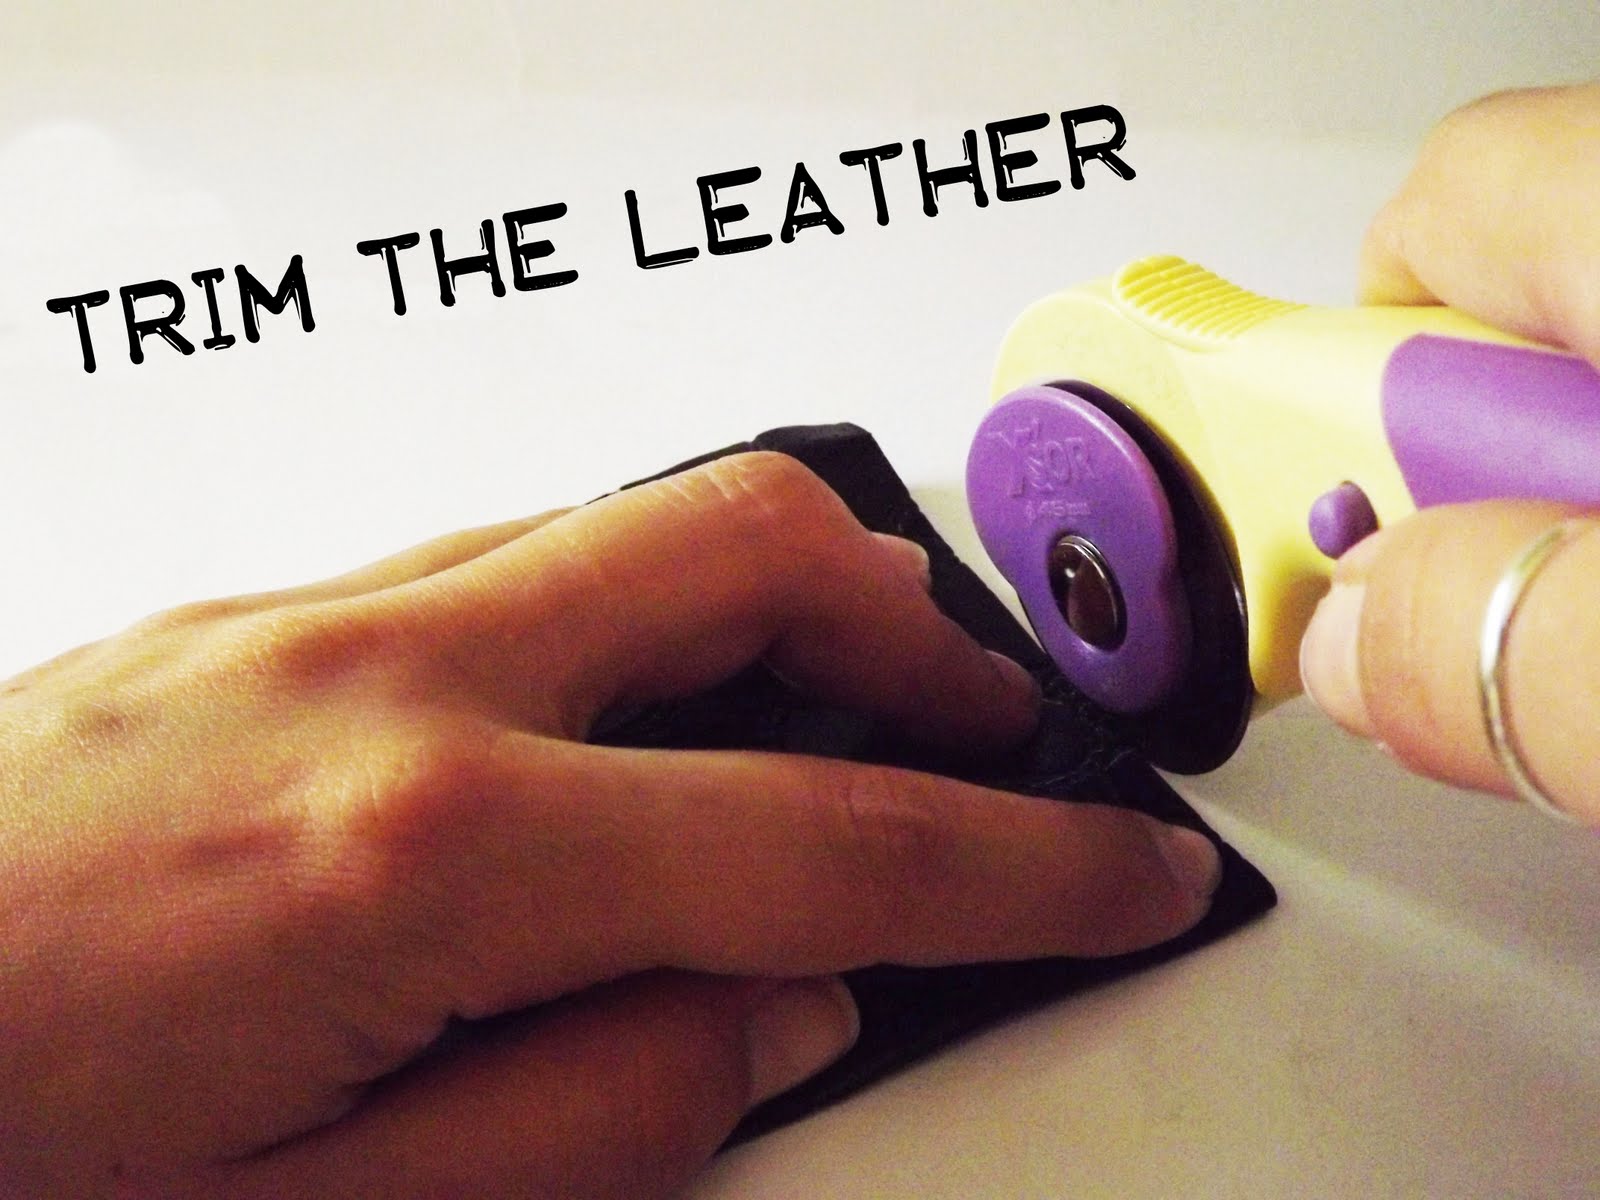
STEP 1
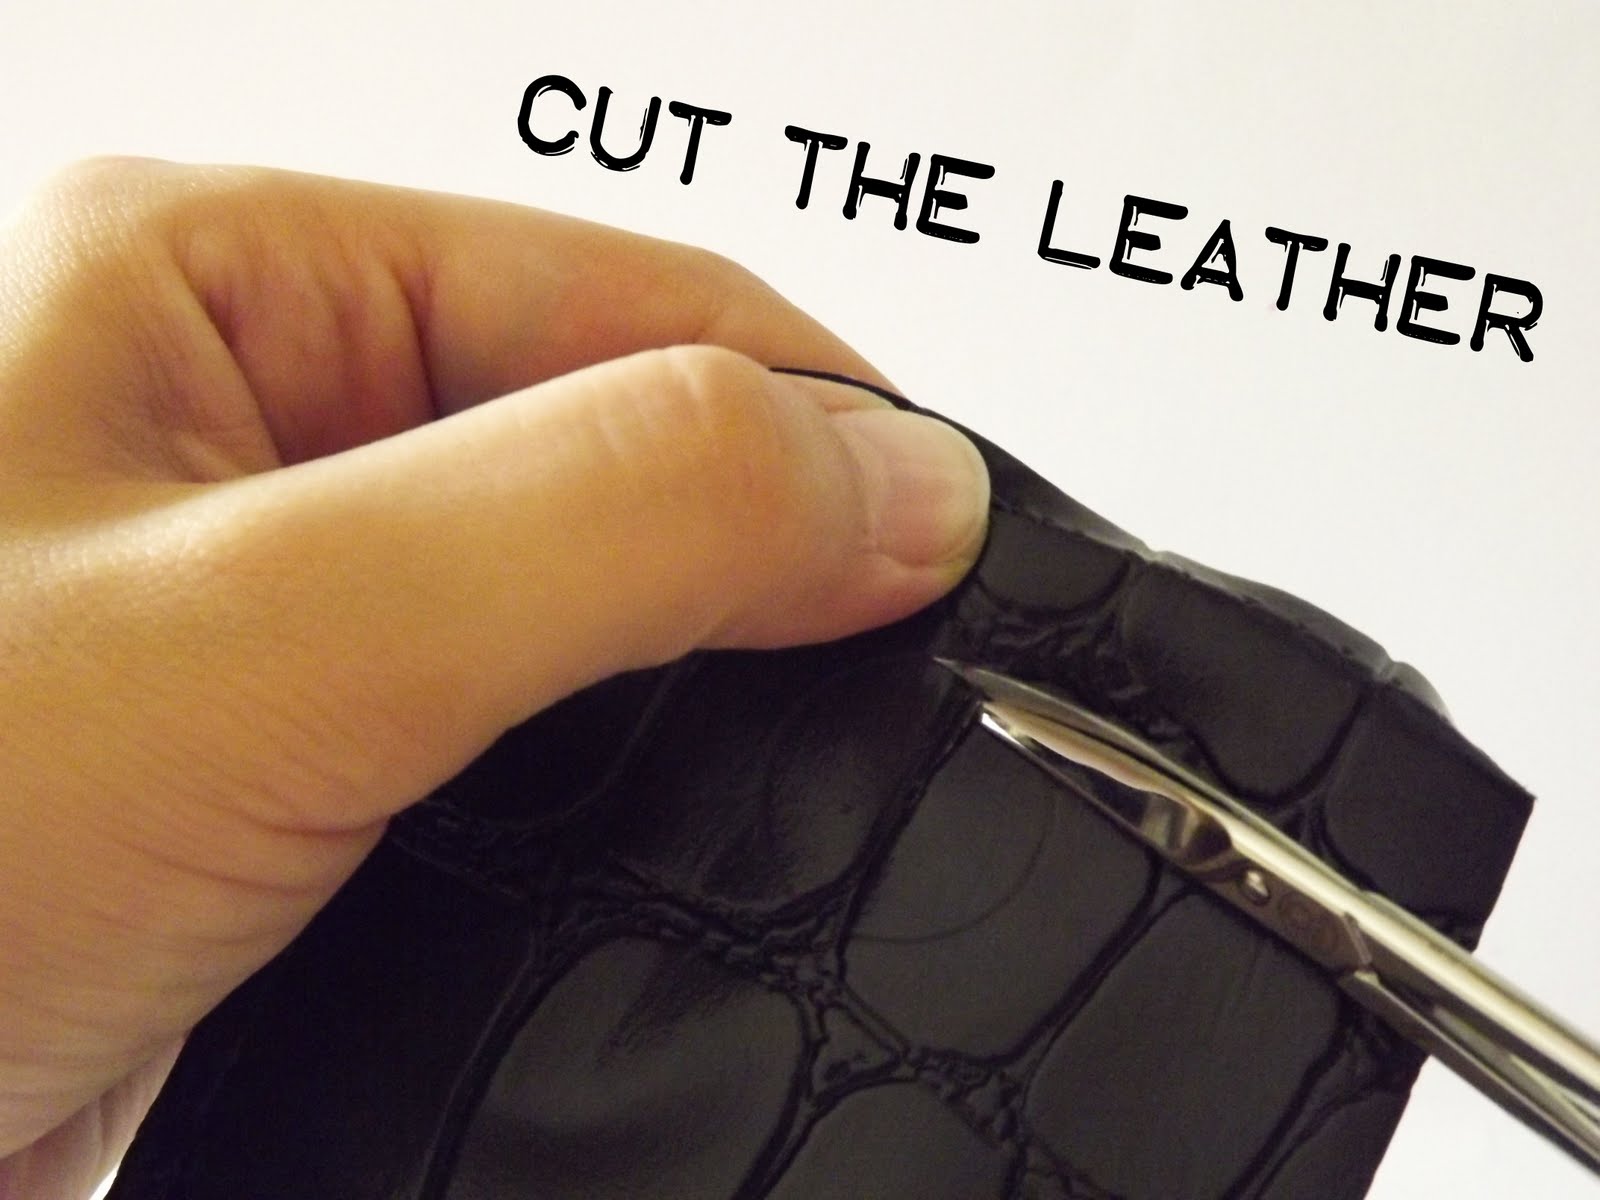
Tagliate il pezzo di pelle in base alle misure del biglietto di visita,
vi consiglio di lasciare circa 1 cm in eccesso.
Cut the piece of leather from measurements of the business card,
I recommend leaving about 1 cm in excess.
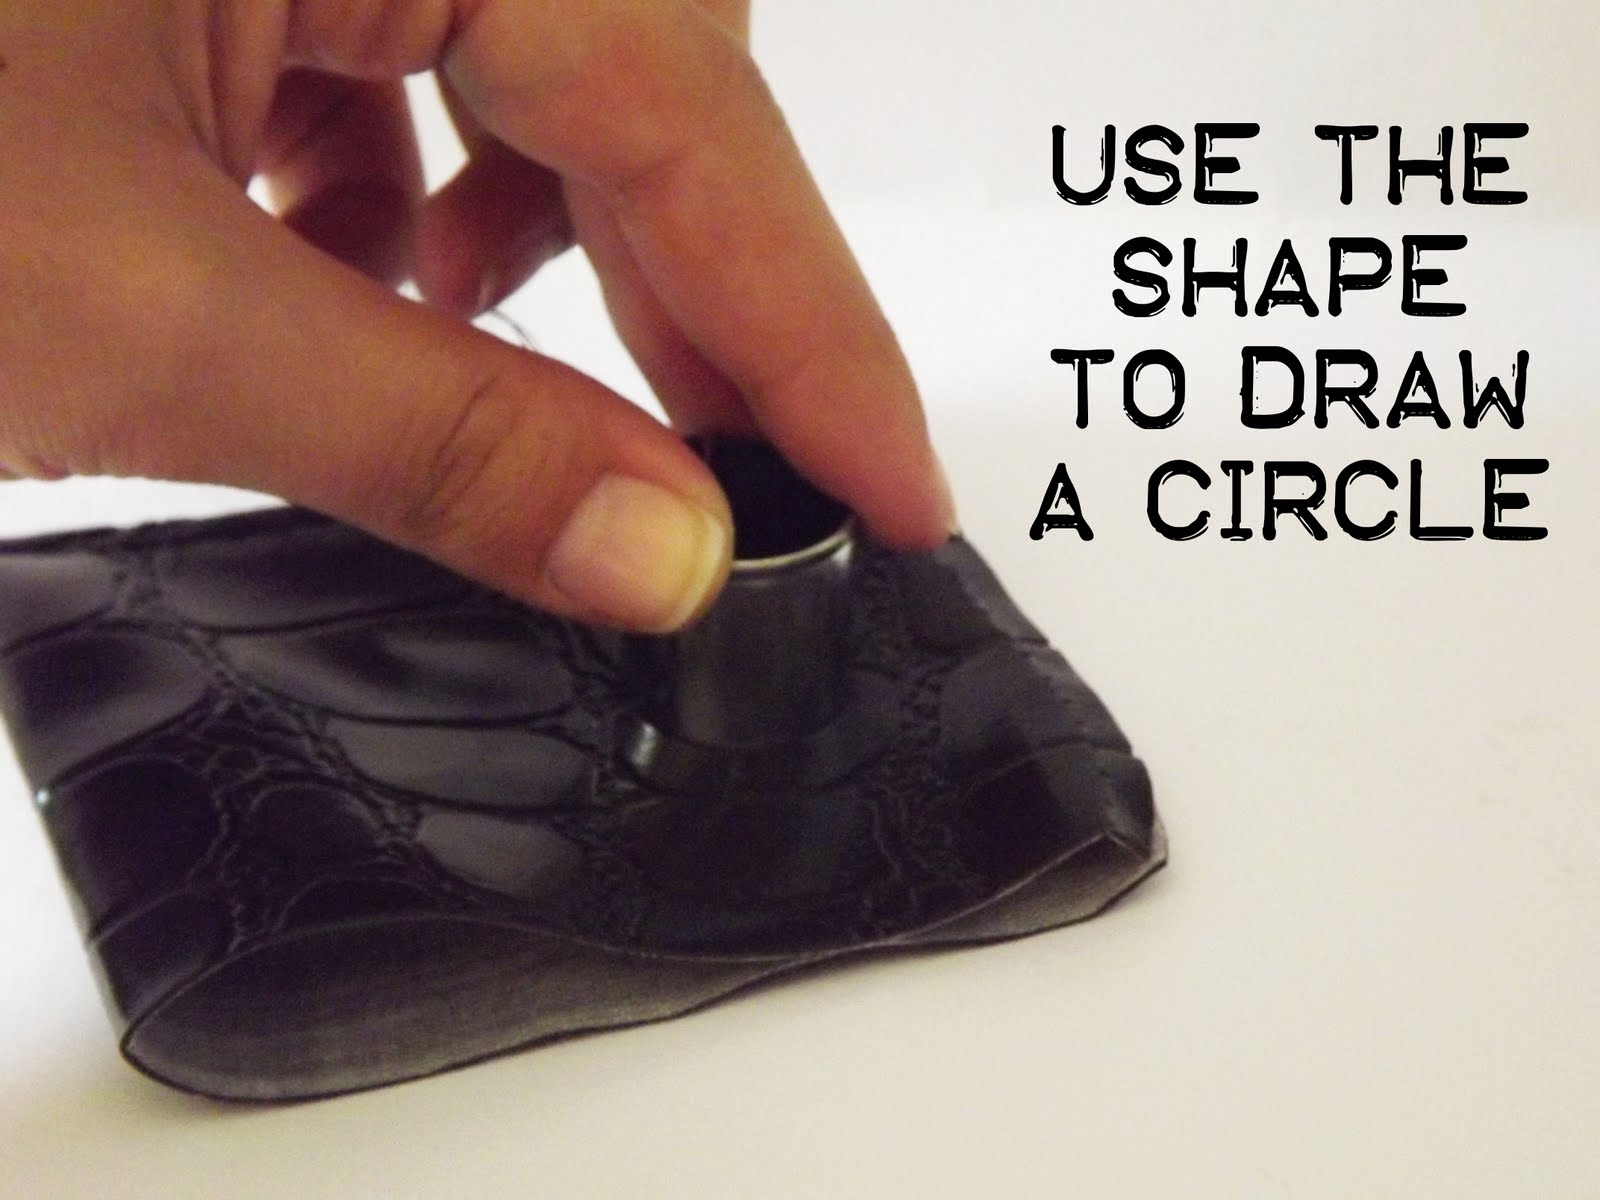
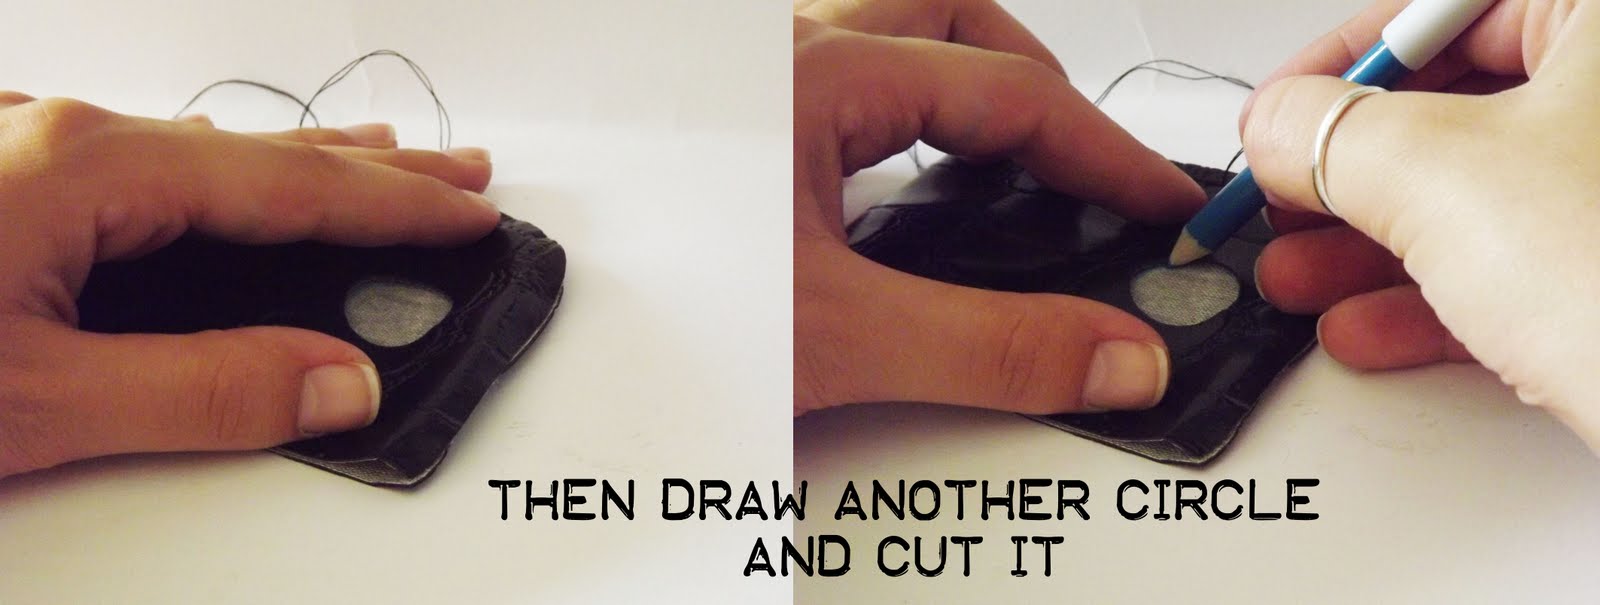
Piegate su se stesso il pezzo di pelle e usate la formina per disegnare un cerchio;
poi tagliate con le forbici
Bend the leather and cut it with the circle biscuit shape
Una volta tagliata la prima parte sovrapponete i lembi,
disegnate il secondo cerchio e procedete con il taglio
Once you cut the first part, overlay the edges, draw the second circle and proceed with the cut
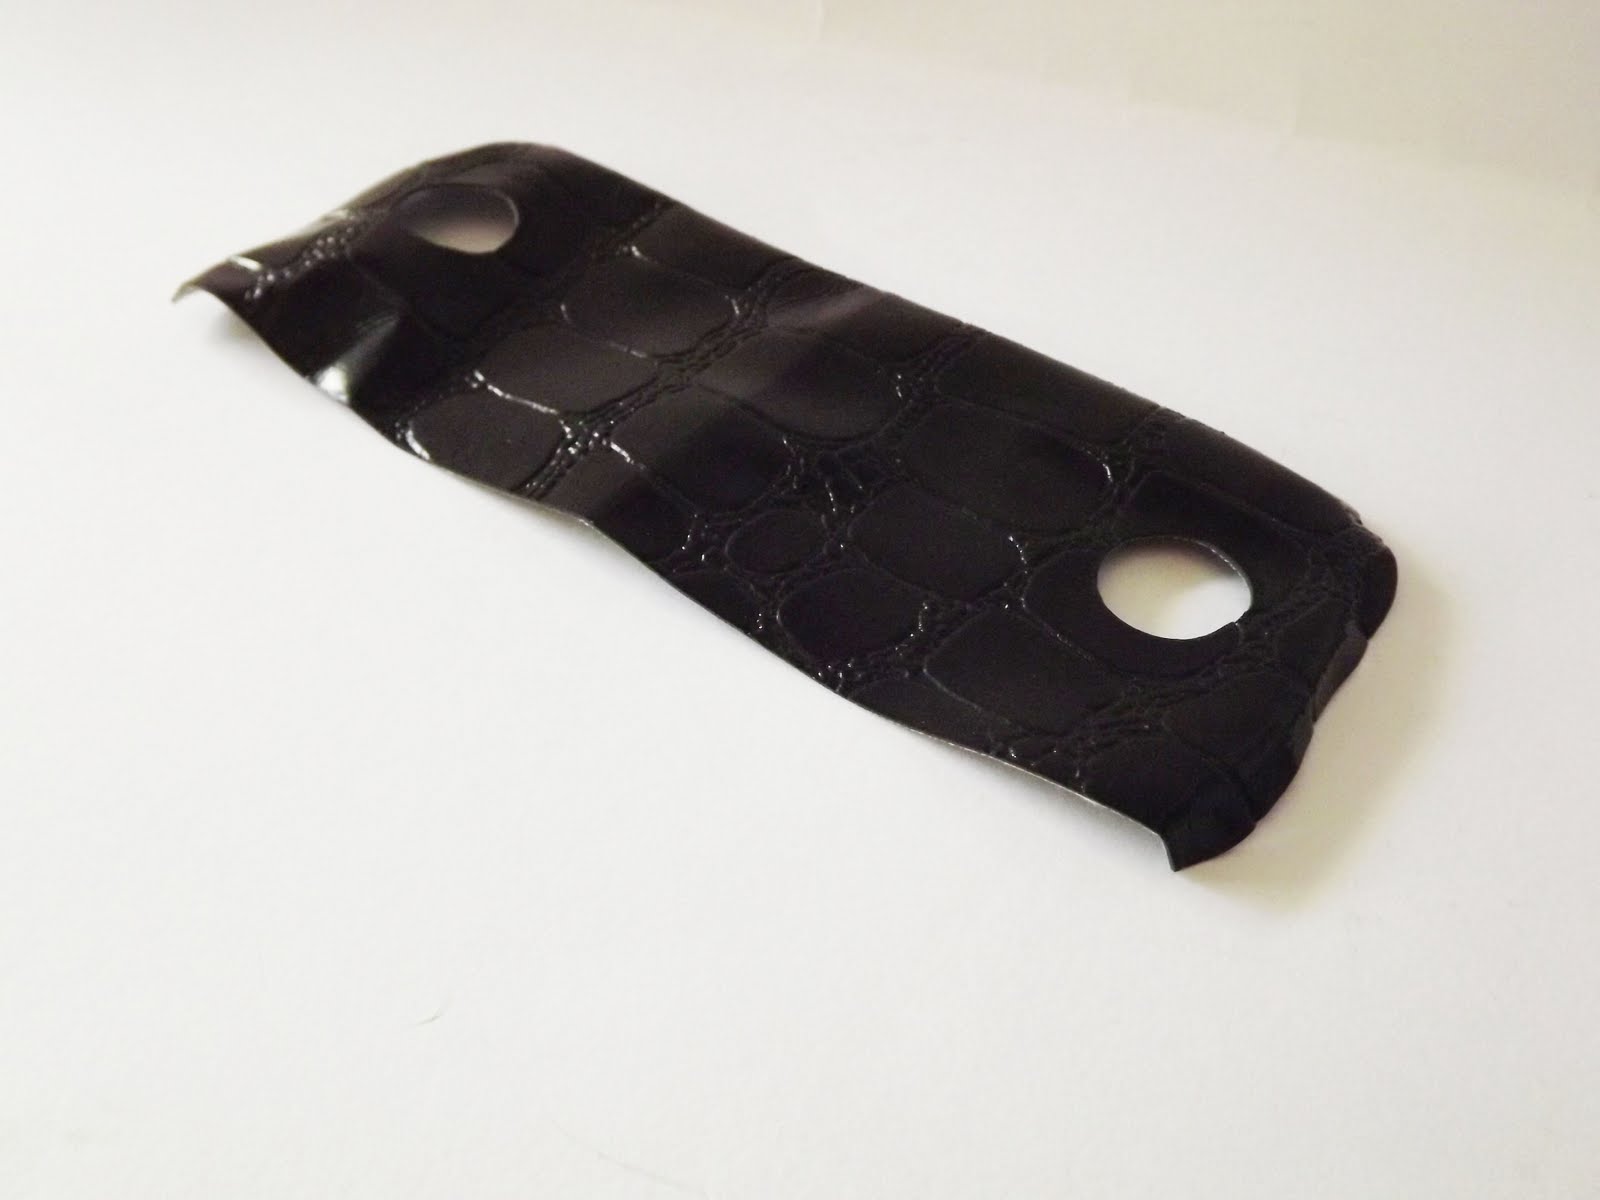
Il risultato dovrebbe essere questo:
The result may be this:
STEP 2
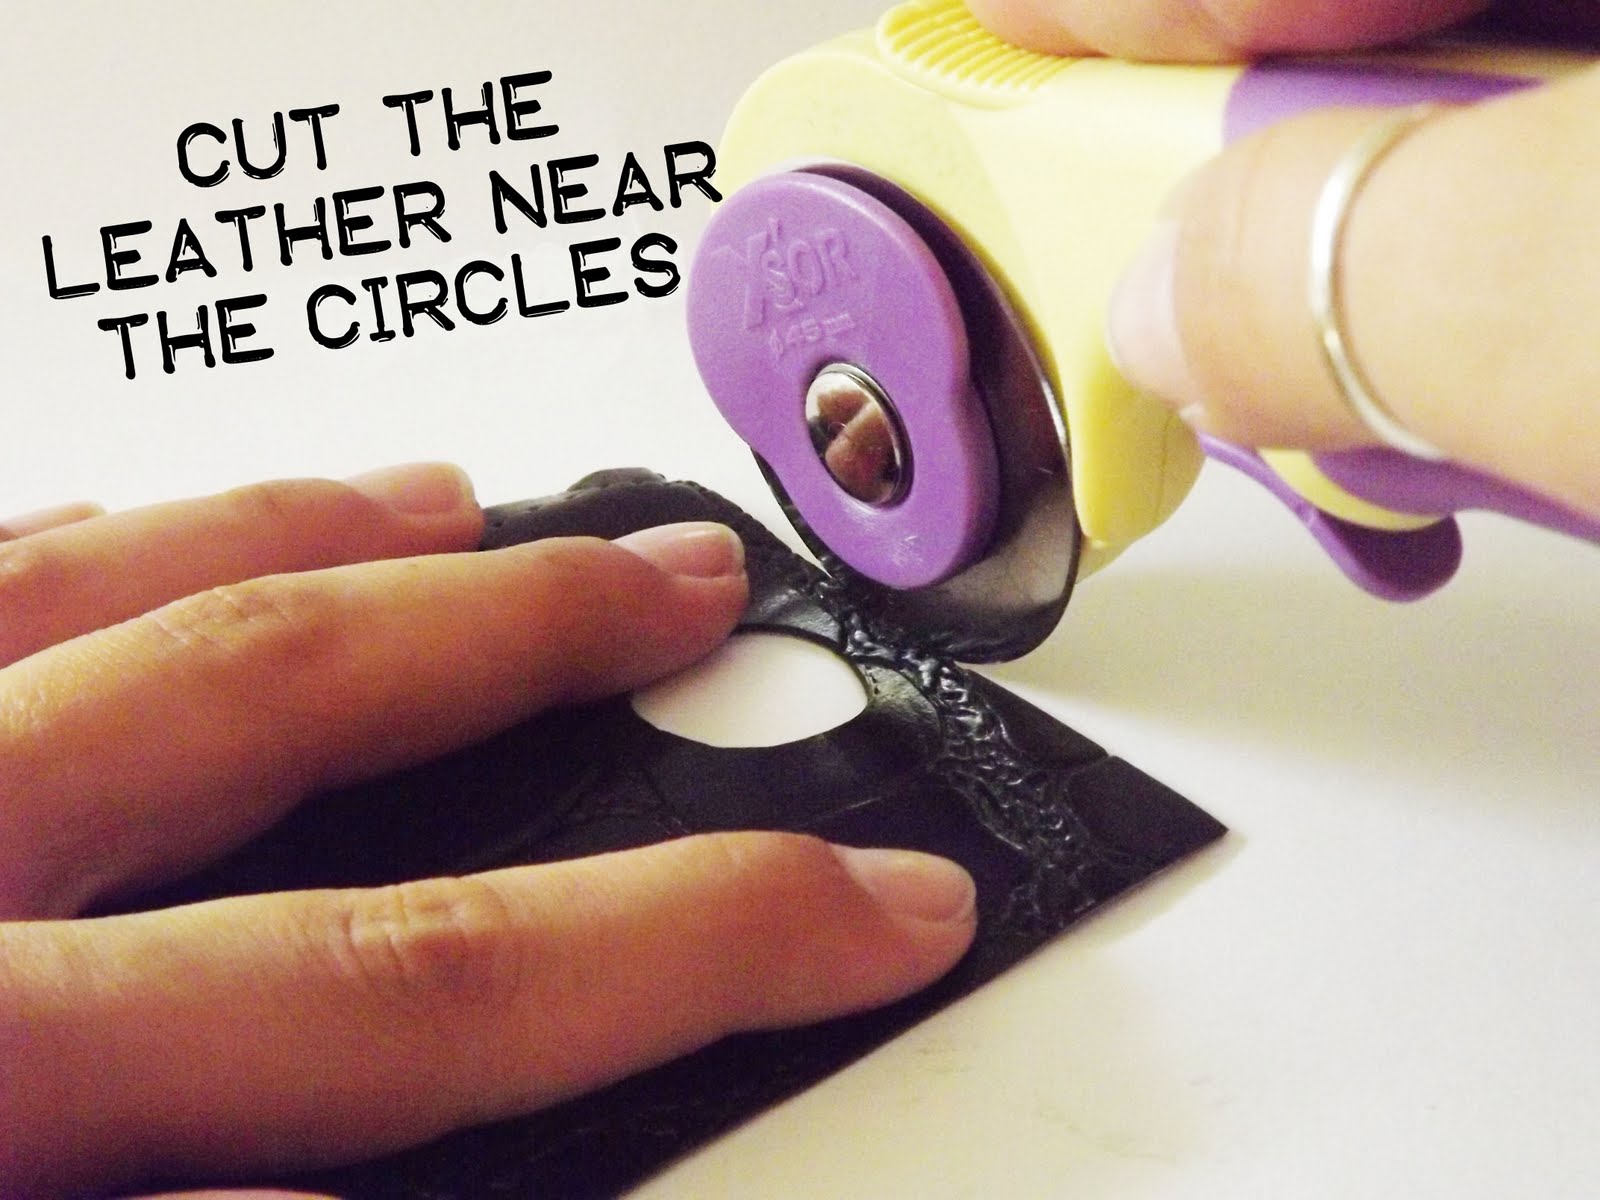
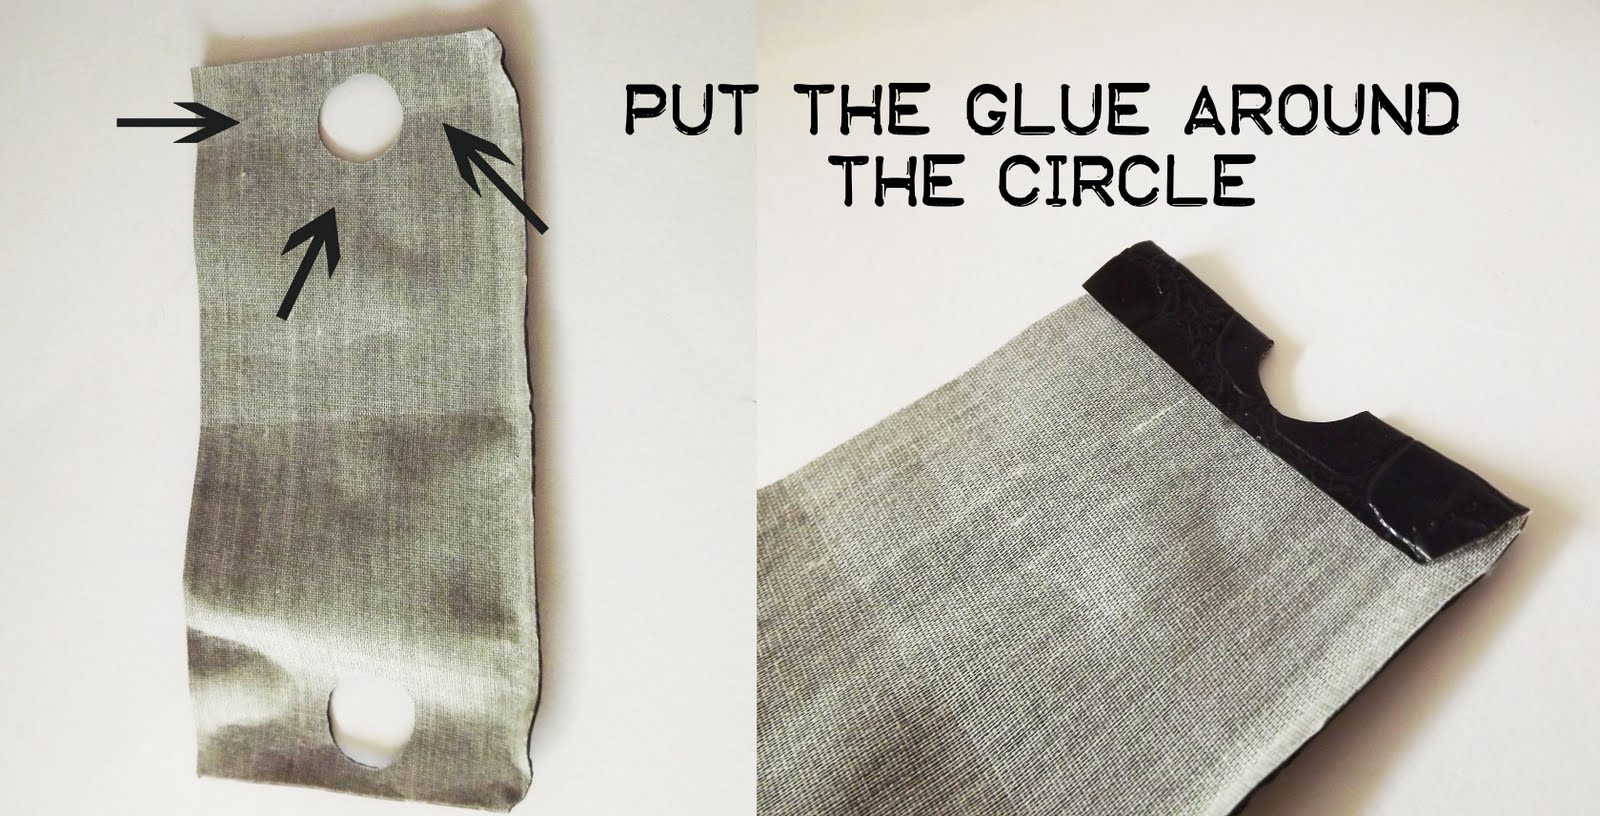
Rifilate la pelle vicino ai buchi mantenedo le misure del biglietto di visita, anche qui lasciate 1 cm
Trim the leather near the holes while maintaining the measures of the business card, leave 1 cm
Metttete la colla (vi consiglio quella a caldo) intorno al buco e sovrapponete la pelle
per ottenere un semicerchio:
Put the glue (I recommend the hot one) around the hole and overlay the skin to obtain a semi-circle:
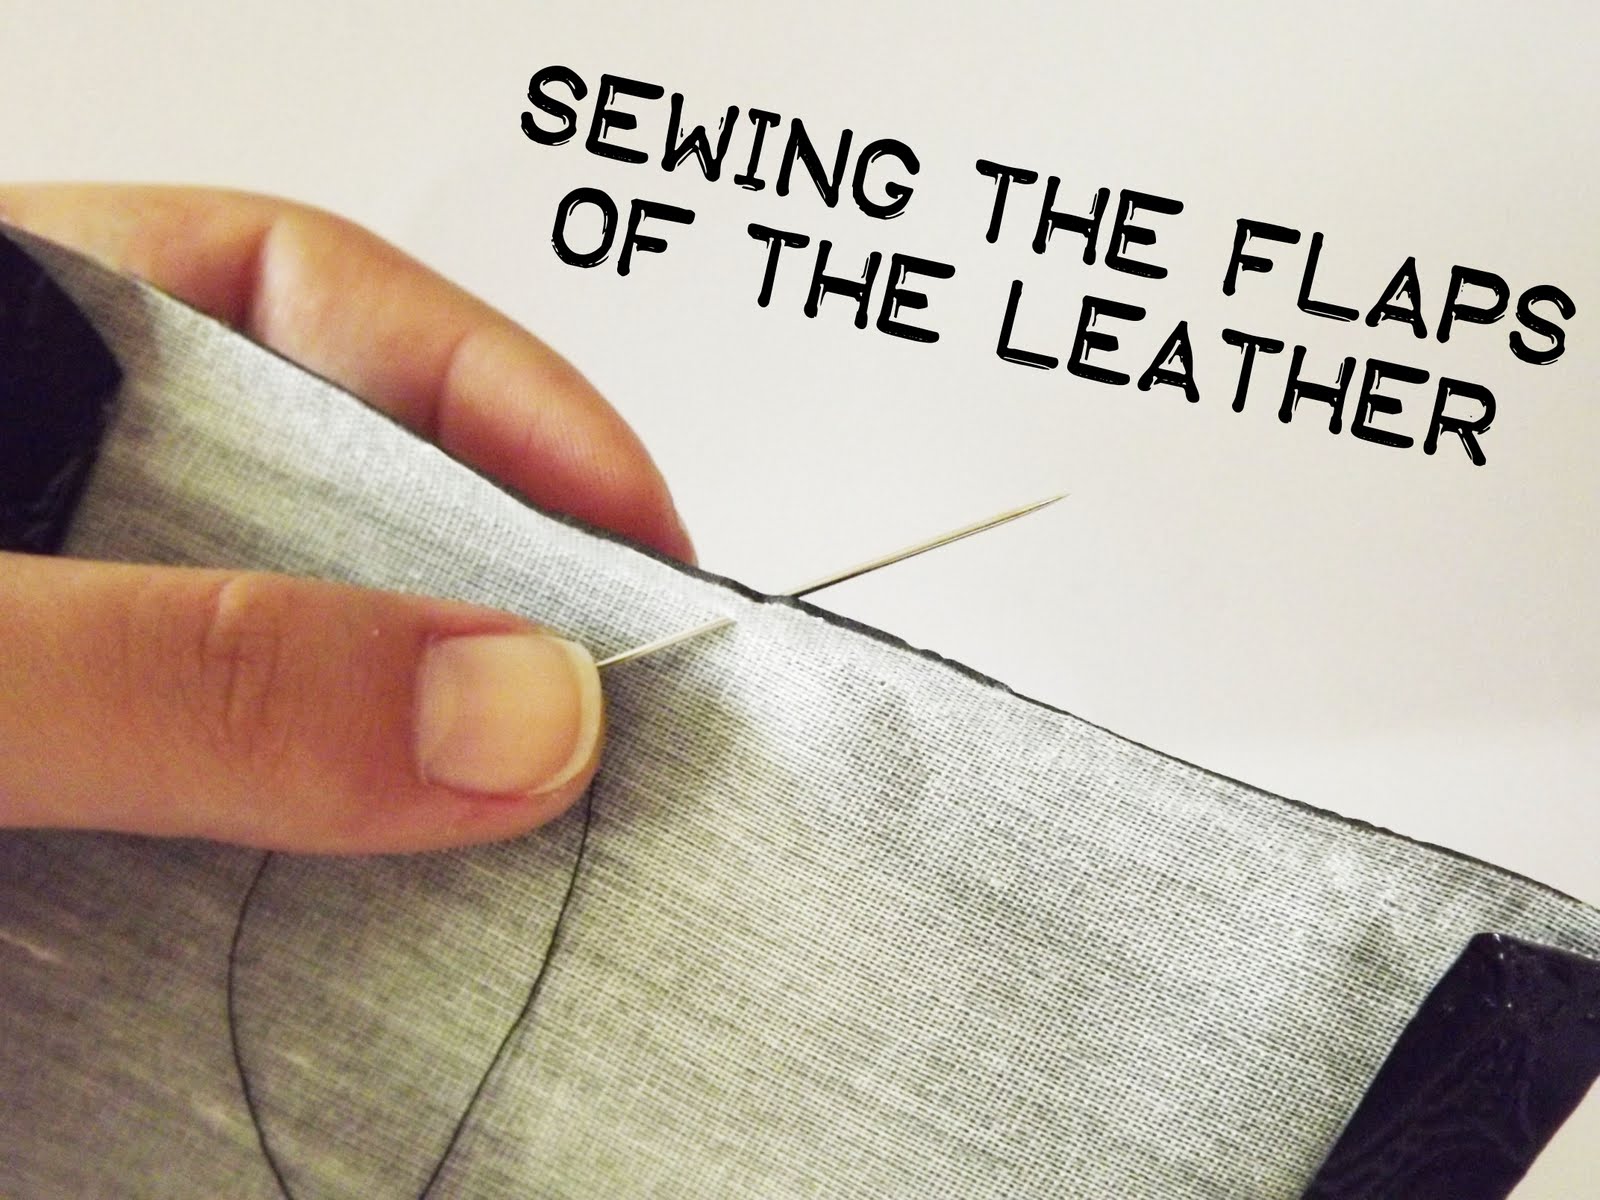
Sovrapponete la pelle e iniziate a cucire inserendo l’ago dall’interno e partendo dal basso
Overlay the leather and start sewing by inserting the needle from the inside and from the bottom
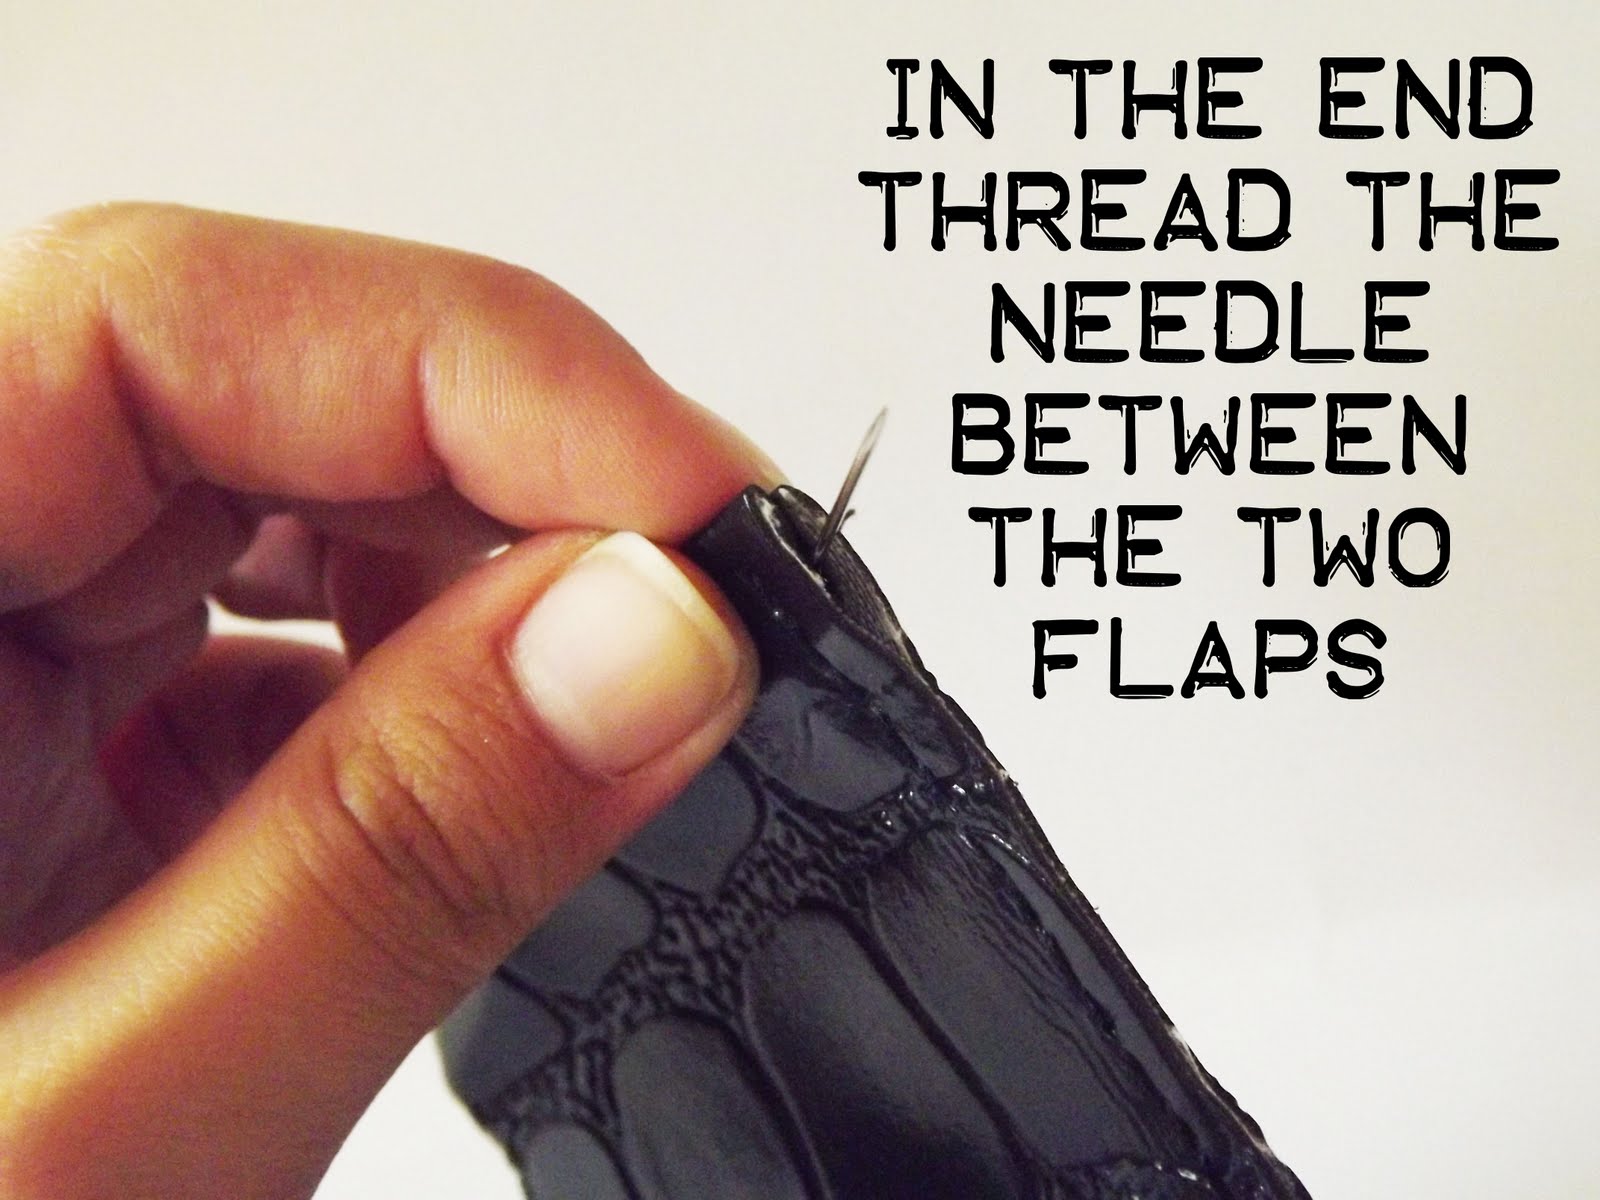
Terminate la cucitura inserendo l’ago tra i due lembi.
finish the sewing by inserting the needle between the two flaps
STEP 3
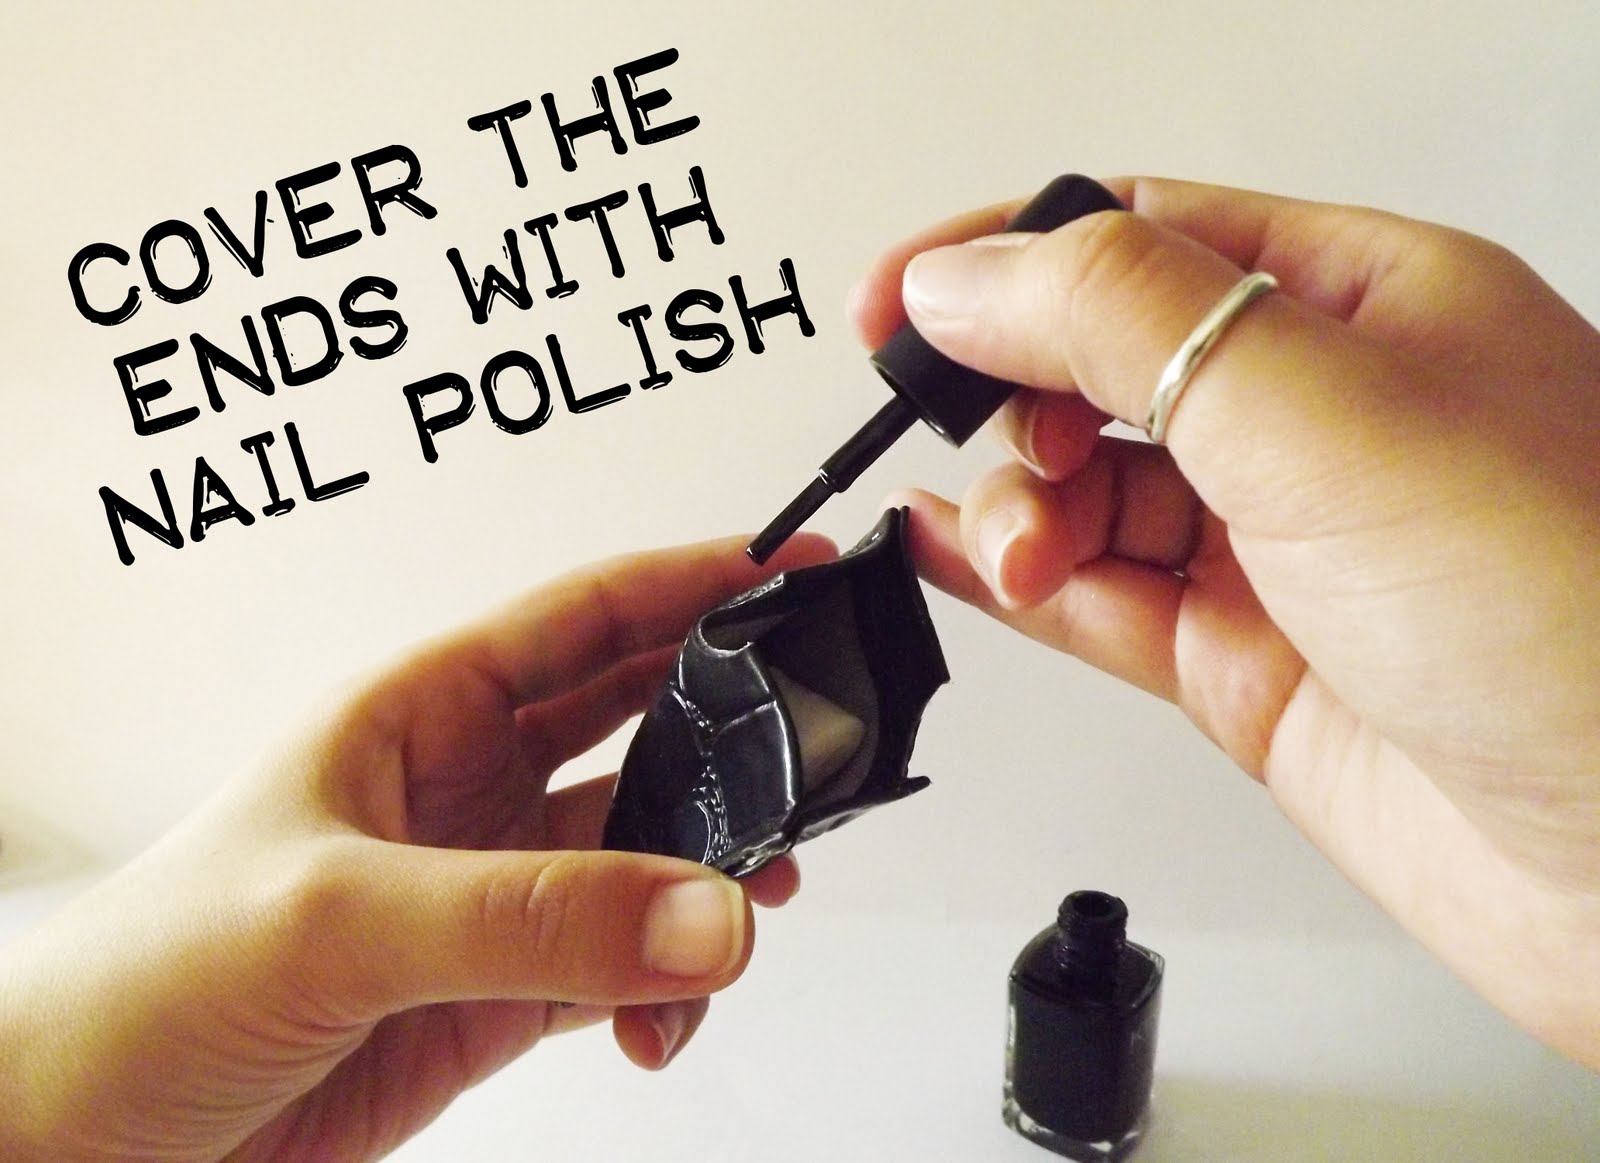
Riempite l’astuccio con del cotone e ricoprite tutte le estremità con dello smalto per unghie
Fill the box with cotton and cover all the edges with the nail polish
Cosa ne pensate?
What do you think about it?
Non dimenticate di partecipare al giveaway! Potreste vincere una gift card H&M del valore di 100 €!!!
Don’t forget to join the giveaway! You can win a gift card H&M of the value of 100 €!!!

13 risposte su “diy: cards case”
Che carino!! Brava 😀
Sooo cute !!! I’m not very good at DIY projects, but be sure I’m gonna try this useful one ;))
Happy weekend!!! xxx
mi piace!!!!
http://cosamimetto.blogspot.com/
OMG…this is such a great DIY project and a much needed by me for sure.
Just found your blog and think is great. I would love to follow each other. Visit me and let me know.
<3 Marina
Fashion.MakeUp.LifeStyle
thankyou girls, I’m very happy that you like my DIY! 🙂
Ma che brava!!!
dai un’occhiata al mio sito:
http://WWW.MYTOUCHOFCLASS.NET
brava!!!
GIVEAWAY by BREIL on my blog! (open worldwide)
brava!!!
GIVEAWAY by BREIL on my blog! (open worldwide)
wowwwwwwww semplice e geniale! fantastico! mi è avanzata un pò di pelle pitonata , mi sa che ci provo XD TheFashionTwice
This is so clever! Thanks for sharing, and I love the faux alligator leather xo redpoppyfashion.blogspot.com
sono contenta che lo abbiate trovato utile!
@ The fashion Twice: fammi sapere se ci provi!!! 🙂
Mamma mia complimenti!
Matteo
http://www.girastilemondo.blogspot.com
Grande!!!è un’idea bellissima!!i miei complimenti!
http://themaxsbox.blogspot.com/